
How to Document a Vibe-Coded App (Lovable, Bolt or v0)
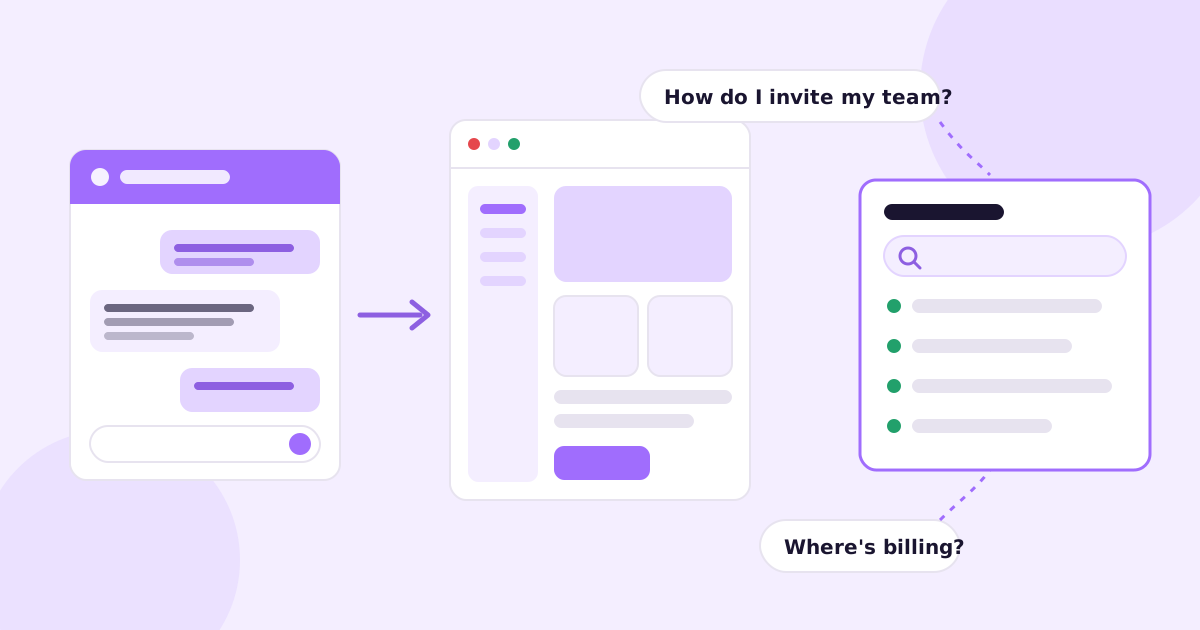
You built the thing in a couple of weekends with Lovable. People signed up. Now your inbox gets “how do I invite my team?” three times a day, and if you’re honest, you’d have to click around for a minute to find the invite button yourself. You didn’t write that screen. The AI did.
So here’s the short answer on how to document a vibe-coded app: don’t start from the code. Start from the questions users are already sending you, walk through your own app as a brand-new user, and write five to ten short, task-based articles with screenshots. Put them somewhere public with search. Then set up a way to notice when your builder changes a screen, because it will, all the time.
That’s the method. The rest of this post is the detail, including the parts that are specific to apps built with Lovable, Bolt or v0.
Why it’s harder to document a vibe-coded app
Most founders write bad docs because docs are boring. You’ve got a different problem: you might not fully know how your own app works.
That isn’t a dig. You described what you wanted, the builder generated it, and you clicked around until it looked right. There are settings pages you’ve opened once. There’s probably an edge case (what happens when a trial ends? when someone uploads a huge file?) that you’ve never actually seen.
Three things follow from that.
You can’t write help docs from memory. You have to use the app, logged in as a fresh user, and write down what really happens.
The UI moves faster than you expect. One prompt like “make the dashboard cleaner” can rename buttons, tuck a menu into a dropdown and change half the layout. Screenshots from last week are now slightly wrong, and slightly wrong is worse than missing, because users trust them.
Reading the code isn’t the shortcut it sounds like. Even if you open the repo, a file called TeamInviteDialog.tsx doesn’t tell you where a user finds it, or what they were trying to get done when they went looking.
So everything below is built around the app as your users experience it.
Step 1: Collect the questions you’re already getting
Before you write anything, go through your inbox, your chat widget if you have one, your Discord or community, any DMs. Copy every “how do I…” and “where is…” question into one list. Paste them verbatim. The exact words people use are the words they’ll type into your help center search box.
For a typical small SaaS app, the list clusters into a few buckets:
- Getting started (sign up, first project, connecting something)
- Team and account (invite people, change email, delete account)
- Billing (upgrade, cancel, find invoices, change card)
- One or two core workflows (whatever your app actually does)
- “Why isn’t this working?” (the error messages and dead ends)
Pick the five questions you get most. That’s your first help center. You can stop there for now and still be ahead of most apps that launched last month.
Step 2: Walk through your app as a new user
Open an incognito window and sign up with a fresh email. If you use Gmail, adding a plus works for most apps (you+docs1@gmail.com), so you don’t need a new inbox every time.
Then do each of your five tasks, start to finish, and write as you go:
- Every screen you land on
- Every button and menu label, spelled exactly as it appears on screen
- Every moment you hesitate or click the wrong thing
That last one matters most. If you, the person who built it, hesitated, your users are stuck there too. That hesitation is where an article needs to exist.
It helps to record your screen while you do this, with Loom or the built-in recorder on your Mac or PC, so you can rewatch it when you write.
Step 3: Write short, task-based help articles
Each article covers one task, named the way a user would say it. “Invite a teammate”, not “Team management”. “Download your invoices”, not “Billing overview”.
A help article template for AI-built apps
Here’s the shape I’d use for almost every article in a small app’s help center:
Title: Invite a teammate to your workspace

Intro (one or two sentences):
Add people to your workspace so they can see and edit your projects.
Only workspace owners can send invites.

Steps:
1. Click **Settings** in the left sidebar.
2. Open the **Team** tab.
3. Click **Invite member**, enter their email and pick a role.
4. Click **Send invite**.

Screenshot: the Team tab with the Invite member button visible

If it doesn't work:
- Invite not arriving? Ask them to check spam, then resend from the Team tab.
- Button greyed out? You may have hit your plan's seat limit.

Related: Change someone's role · Remove a teammate
Button labels in bold, exactly as they appear. One screenshot per screen that matters, not one per click. A short “if it doesn’t work” section built from the real complaints in your list from step 1. We go deeper on structure in how to write help center articles people actually use.
What to leave out
Don’t explain your tech stack. Nobody needs to know it runs on Supabase unless they’re connecting something to it. Don’t document every toggle on every settings page. Don’t write marketing copy in the intro; the person reading is already a user and is mildly annoyed. Get them to step one fast.
Step 4: Take screenshots, and plan for them to break
The manual way is fine to start: screenshot, crop to the part of the screen that matters, maybe add an arrow. Keep the browser window the same size every time so the images look consistent.
The bit people skip is naming. Name every image after the article and step, like invite-teammate-step-3.png. When the builder moves the Team tab next month, you’ll know exactly which images to retake instead of hunting through a folder of Screenshot 2026-10-14 at 09.12.33.png.
If you’re comfortable running a script, you can automate retakes with a browser tool like Playwright. That’s covered in how to create product screenshots automatically. For a non-technical founder it’s a stretch, which is part of why tools that capture screenshots for you exist.
Step 5: Choose where your help center lives
Some honest options:
- A public Notion page. Free and fast. Search is weak, it looks like Notion, and you can’t really tie it to your domain without extra tools. Fine for week one.
- GitBook or Mintlify. Good-looking, but built with developer docs in mind. Great if your users are developers, a bit heavy if they aren’t.
- Help Scout Docs or Intercom Articles. Sensible if you already use them for support, since the articles show up next to the chat.
- A help page your builder generates inside the app. Tempting, and I’d avoid it. Every docs edit becomes a prompt, the builder can rewrite it when you ask for something unrelated, and your docs go down when the app does.
- A tool that drafts the docs from your app, like Ellie Docs (more on that below).
Whatever you pick, it needs search, it needs to work on a phone, and you need to be able to link to a single article from a support reply. Those three matter more than the theme.
Step 6: Keep your docs current when the builder changes things
This is the real problem with docs for a vibe-coded app. Writing the first five articles is an afternoon of work. Keeping them true while you prompt your way through three redesigns is the hard part.
The simple habit: keep a list (a spreadsheet is fine) of each article and the screens it mentions. After any session where you changed the UI, scan the list and reopen anything that touches what you changed. Retake the screenshot, fix the labels, move on.
It works, until you forget once. Then a customer follows step 3, the button isn’t there, and they email you anyway, now slightly less confident in your product. There’s a longer write-up of this in how to keep documentation up to date when you ship every week.
Your GitHub repo is quietly helping
Here’s the part most vibe coders don’t realize. Lovable, Bolt and v0 can all sync your project to a GitHub repository (check your builder’s settings or its integration docs; the exact menu moves around). Even if you never open it, that repo is the most accurate record of your app that exists. Every change the builder makes lands there as a commit.
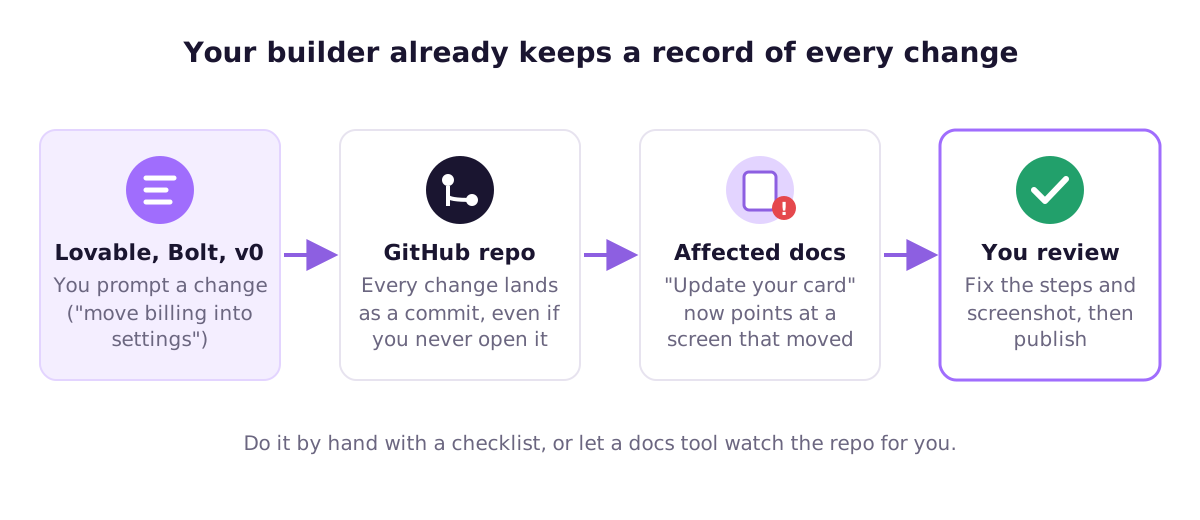
That’s useful for docs. A tool can read the repo to see which features and screens exist, and it can notice when a commit changes something an article describes. You don’t need to understand the commit. You just need someone, or something, to tell you “the billing article is out of date now”.
Using Ellie Docs to document a Lovable, Bolt or v0 app
This is the problem we built Ellie Docs for vibe-coded apps to handle, so here’s how it maps onto the steps above.
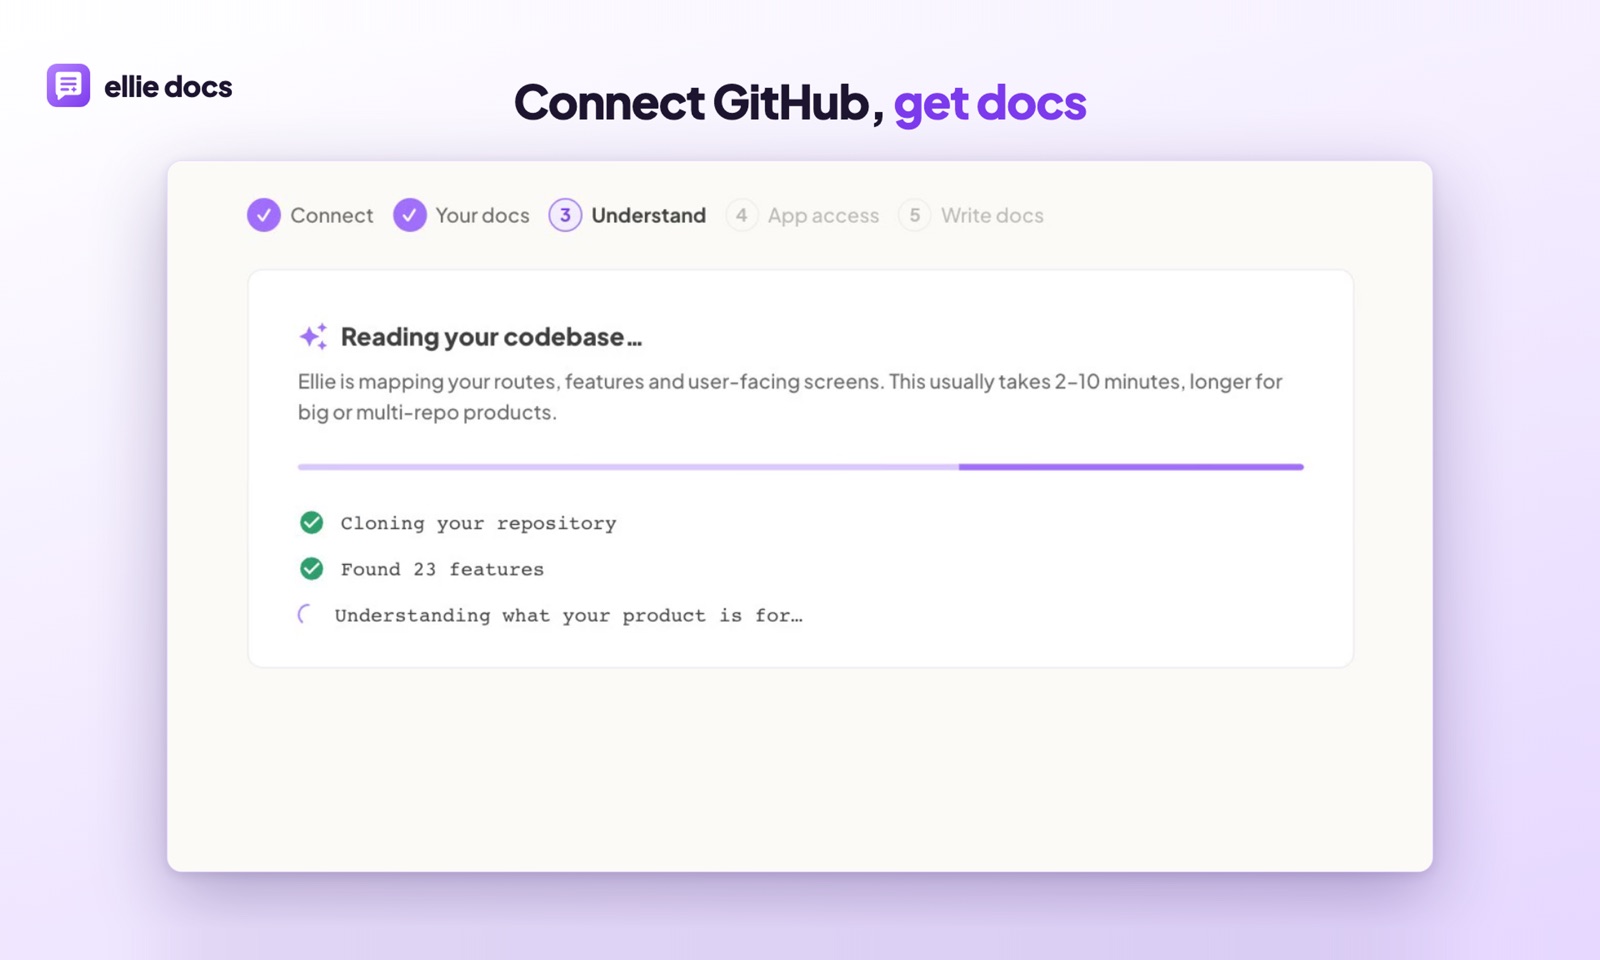
You connect the GitHub repo your builder already created (or start from your website if you’d rather not connect GitHub yet). Ellie reads the code and maps your features and user-facing screens, which covers the “I don’t fully know my own app” problem from the top of this post.
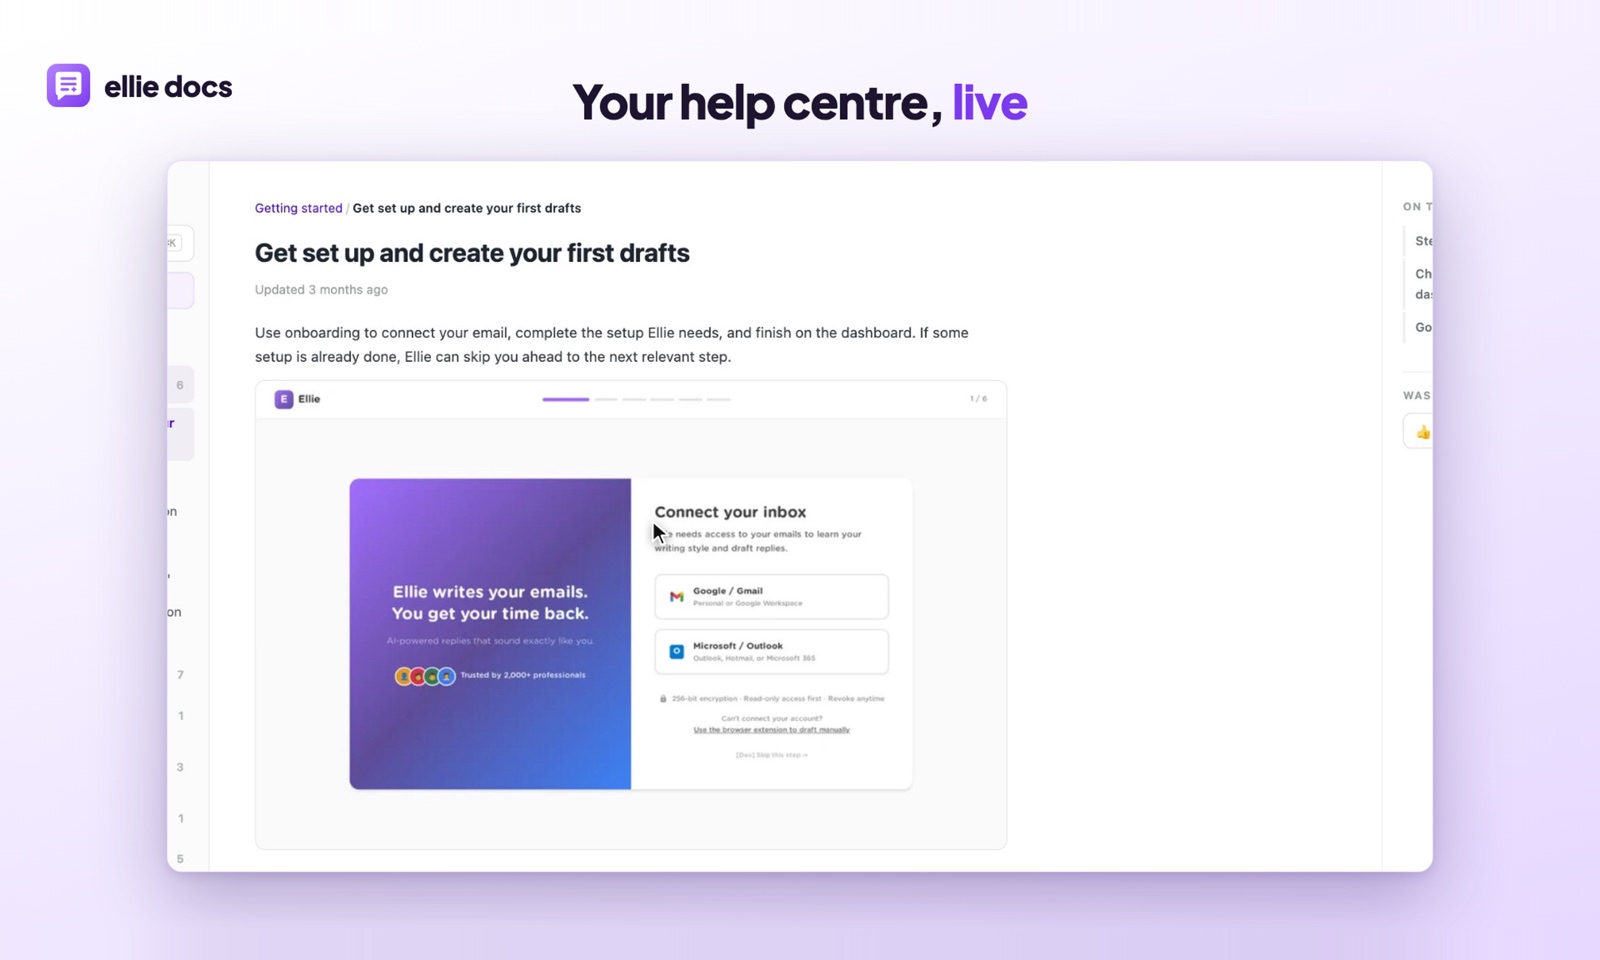
It then runs your app in a sandbox, logs in, captures real screenshots of the logged-in product and drafts a full help center in plain language, with the screenshots placed in the articles. You read everything, edit what’s wrong and publish to yourname.elliedocs.com or your own domain. Customers get search and “Ask AI” answers drawn from your articles.
When your builder pushes a change, Ellie checks which articles it affects and proposes edits as suggestions you accept or dismiss. Nothing publishes by itself. That’s step 6 handled without the spreadsheet.
To be straight about the limits: you still need to read every article before it goes live. Ellie can see what your app does. It can’t know your refund policy, or that you’re about to rename a plan. That’s still your job, and it should be. If you want the longer take on what AI gets right and wrong here, see can AI generate documentation from your code?.
There’s a free plan and you don’t need a card to start.
Questions people ask about vibe-coded app docs
Do I need to understand my code to write help docs? No. Help docs describe what users see and do, not how it’s built. Walking through the app as a new user (step 2) gets you everything you need. The code only helps with finding features you forgot existed.
How many articles do I need before launch? Fewer than you think. Five good articles that answer your most common questions beat thirty thin ones. Add a new article every time you answer the same question twice by email.
Should I just ask Lovable or Bolt to write my docs? You can ask your builder to draft a page, and it’ll produce something. The trouble is it writes from the code it generated, not from using the app, so you get component names and features you never shipped. Treat it as a rough draft at most, and keep the published docs outside the app itself.
What if I keep changing the app every day? Then keep the help center small and focused on the stable parts (sign up, billing, account) until the core flow settles. Document the moving parts once they stop moving, or use a tool that watches the repo for you.
If your users are already asking “how do I…” and you’d rather not write the second project by hand, try Ellie Docs free. Connect your repo and you’ll have a drafted help center to review in your first sitting.