
How to Create Product Screenshots Automatically for Docs
You moved one button. Now 14 help articles show the old layout, and somebody has to log in, find the right demo account, resize the window and retake every image. Nobody wants that job, so it doesn’t get done, and the docs quietly start lying.
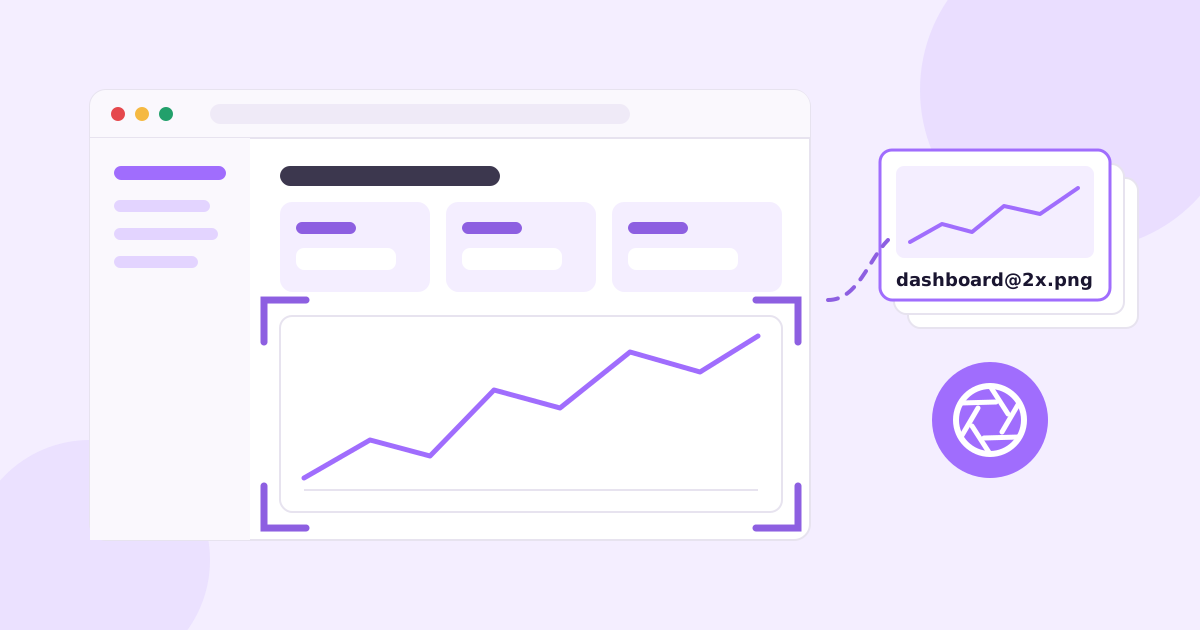
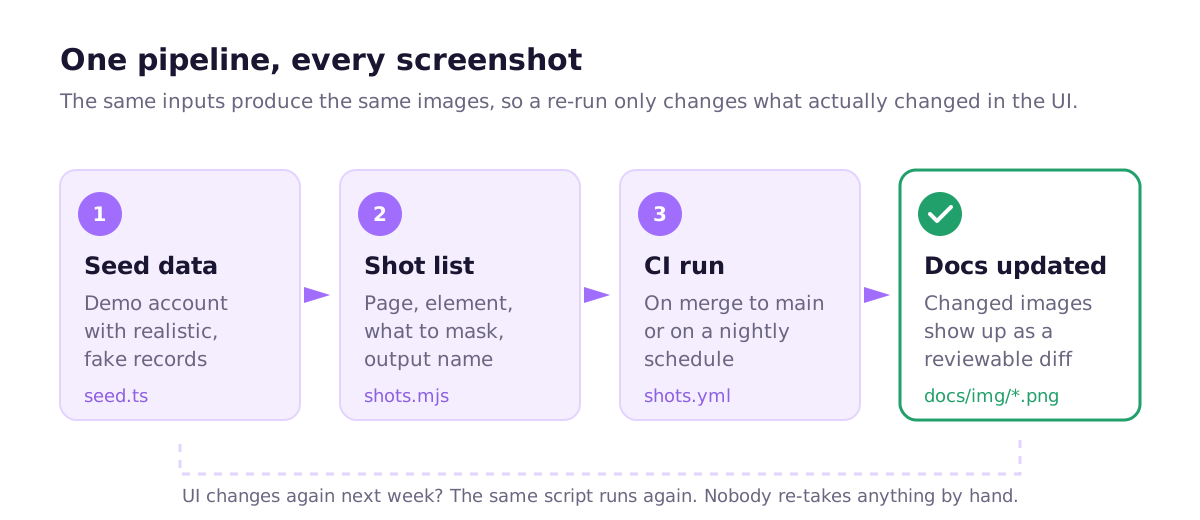
The fix is to stop taking product screenshots by hand. To create product screenshots automatically, write a script that logs into a seeded demo account, visits each page in a fixed-size headless browser, captures specific elements (not the whole screen) at 2x resolution, masks anything that changes between runs, and saves each image under a stable filename. Then run that script in CI whenever the UI changes. Playwright does all of this in about 60 lines.
Below is the script we’d actually use, the details that make the output consistent, and the bits that still need a human.
Why manual product screenshots go stale
Hand-made screenshots fail for boring reasons:
- They’re expensive to redo, so people put it off. A redesign that touches the sidebar can invalidate every image in your help center at once.
- They’re inconsistent. One was taken on a 13-inch laptop, one on a 4K monitor, one in dark mode, one with a browser extension icon in the corner.
- They leak real data. Somebody’s actual inbox, a customer name, a real email address in the avatar menu.
- Nobody knows which ones are out of date. There’s no link between “we changed the billing page” and “these five images show the billing page.”
Screenshot automation solves the first three outright and gives you a fighting chance at the fourth. If your docs drift in general (not just the images), the broader version of this problem is covered in how to keep documentation up to date when you ship every week.
What you need before writing any code
Three things make automated documentation screenshots work. Skip any of them and you’ll get flaky, ugly output.
1. A seeded demo account
Your script needs to log into an account that always looks the same: same company name, same 12 projects, same fake teammates with plausible names. Write a seed script (scripts/seed-demo.ts or whatever fits your stack) that wipes and recreates this account. Realistic matters. A dashboard full of “Test Project 1” and “asdf” looks broken in a help article.
2. Stable selectors for the things you capture
You’ll be screenshotting elements, so you need a reliable way to find them. CSS classes from Tailwind or CSS-in-JS change constantly. Add a dedicated attribute instead:
<section data-docs="billing-summary">...</section>
It costs nothing, it survives refactors, and it tells every engineer “this element appears in the docs, think before you delete it.”
3. A shot list
A plain list of every image your docs use: which page, which element, what to mask, and the output filename. Keep it in code, next to the script. This list is also your answer to “which screenshots show the billing page?” later.
A working Playwright screenshot script
Playwright is the best tool for this today. It drives real Chromium, Firefox or WebKit, it can screenshot a single element, and it has built-in options for masking and freezing animations.
First, log in once and save the session so every screenshot run starts authenticated:
// scripts/docs-login.mjs
import { chromium } from 'playwright';

const BASE_URL = process.env.BASE_URL ?? 'http://localhost:3000';

const browser = await chromium.launch();
const page = await browser.newPage();
await page.goto(`${BASE_URL}/login`);
await page.getByLabel('Email').fill(process.env.DEMO_EMAIL);
await page.getByLabel('Password').fill(process.env.DEMO_PASSWORD);
await page.getByRole('button', { name: 'Sign in' }).click();
await page.waitForURL('**/dashboard');
await page.context().storageState({ path: '.auth/demo.json' });
await browser.close();
Then the screenshot script itself:
// scripts/docs-screenshots.mjs
import { chromium } from 'playwright';
import { mkdir } from 'node:fs/promises';

const BASE_URL = process.env.BASE_URL ?? 'http://localhost:3000';
const OUT_DIR = 'docs/images';

const shots = [
  {
    name: 'dashboard-overview',
    path: '/dashboard',
    element: '[data-docs="overview-panel"]',
    mask: ['[data-docs="last-synced"]', '[data-docs="avatar"]'],
  },
  {
    name: 'billing-summary',
    path: '/settings/billing',
    element: '[data-docs="billing-summary"]',
  },
  {
    name: 'invite-teammate-dialog',
    path: '/settings/team',
    element: '[role="dialog"]',
    before: (page) => page.getByRole('button', { name: 'Invite teammate' }).click(),
  },
];

const browser = await chromium.launch();
const context = await browser.newContext({
  storageState: '.auth/demo.json',
  viewport: { width: 1280, height: 800 },
  deviceScaleFactor: 2,
  colorScheme: 'light',
  locale: 'en-US',
  timezoneId: 'America/New_York',
  reducedMotion: 'reduce',
});
const page = await context.newPage();

// Every "Updated 3 minutes ago" and date picker now shows the same moment.
await page.clock.setFixedTime(new Date('2026-03-02T10:00:00'));

await mkdir(OUT_DIR, { recursive: true });

for (const shot of shots) {
  await page.goto(BASE_URL + shot.path);
  if (shot.before) await shot.before(page);

  const target = page.locator(shot.element);
  await target.waitFor({ state: 'visible' });

  await target.screenshot({
    path: `${OUT_DIR}/${shot.name}.png`,
    animations: 'disabled',
    caret: 'hide',
    mask: (shot.mask ?? []).map((selector) => page.locator(selector)),
    maskColor: '#e3d4ff',
    // Hide things that should never appear in docs.
    style: '#chat-widget, .cookie-banner, .dev-toolbar { display: none !important; }',
  });

  console.log(`saved ${shot.name}.png`);
}

await browser.close();
Run it with node scripts/docs-login.mjs && node scripts/docs-screenshots.mjs against your local app or a staging copy with the demo account seeded. You’ll get a folder of crisp PNGs named exactly like the shot list.
The settings that make screenshots consistent
Most of the value is in a handful of options. Here’s why each one is there.
Fixed viewport. 1280x800 means the layout breaks at the same points every time. Pick one size and stick to it across every image so your help center doesn’t look like a collage.
deviceScaleFactor: 2. This renders at retina density, so a 600px-wide element becomes a 1200px-wide image. It looks sharp on modern laptops and phones, and you can display it at half size in the article. Files get bigger; run them through an optimizer like oxipng or convert to WebP if that matters to you.
Element screenshots, not full pages. A screenshot of just the billing summary card tells the reader where to look. A full-page capture makes them hunt. It also means a change to the sidebar doesn’t touch your billing image, so you only re-review what actually changed.
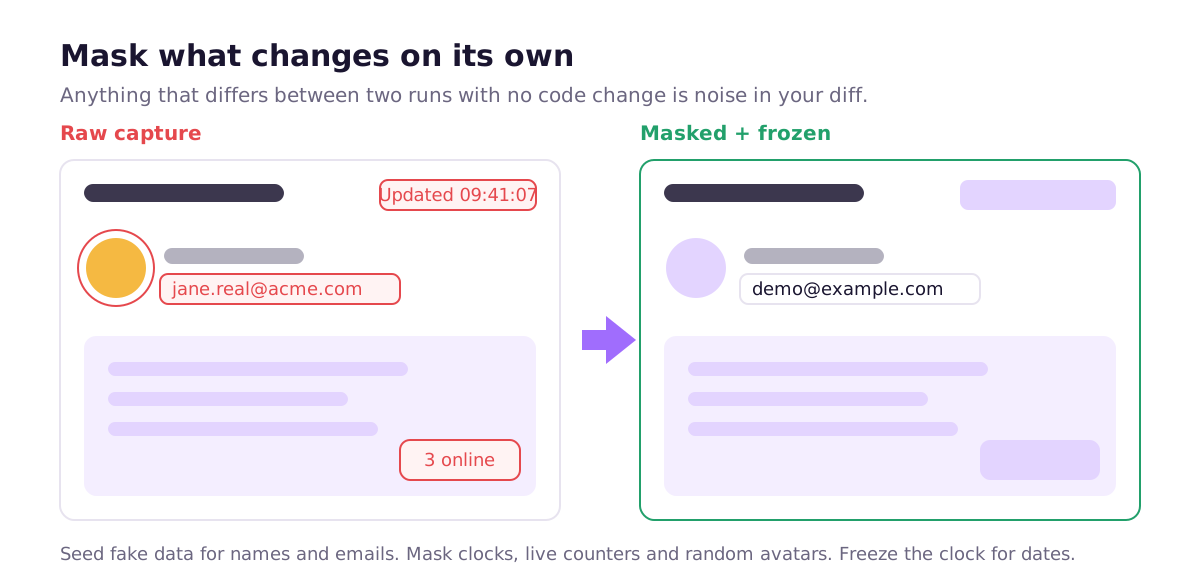
Masking dynamic content. Anything that differs between two runs with no code change is noise: relative timestamps, live counters, “3 people online”, random avatar colors, a rotating tip of the day. Playwright’s mask option paints a solid box over those elements. Prefer fixing the data at the source (seeded names, a frozen clock) and mask only what you can’t control.
Frozen clock, locale and timezone. page.clock.setFixedTime pins Date.now(), so “Due in 2 days” says the same thing forever. Locale and timezone stop a CI runner in another region from rendering 02/03/2026 instead of 3/2/2026.
Animations off, caret hidden. A half-finished fade-in or a blinking cursor will show up in one run and not the next.
Re-running the screenshots in CI
A script you have to remember to run is only slightly better than doing it by hand. Put it in CI.
The simplest version: on every merge to main (or nightly, if your test suite is slow), boot the app, seed the demo account, run the script, and open a pull request if any image changed. Git shows image diffs side by side on GitHub, so a reviewer can glance at “billing-summary.png changed” and confirm it’s an intended change.
# .github/workflows/docs-screenshots.yml
name: Docs screenshots
on:
  push:
    branches: [main]
  workflow_dispatch:

jobs:
  capture:
    runs-on: ubuntu-latest
    steps:
      - uses: actions/checkout@v4
      - uses: actions/setup-node@v4
        with:
          node-version: 22
      - run: npm ci
      - run: npx playwright install --with-deps chromium
      - run: npm run seed:demo
      - run: npm run start &
      - run: npx wait-on http://localhost:3000
      - run: node scripts/docs-login.mjs && node scripts/docs-screenshots.mjs
        env:
          DEMO_EMAIL: ${{ secrets.DOCS_DEMO_EMAIL }}
          DEMO_PASSWORD: ${{ secrets.DOCS_DEMO_PASSWORD }}
      - uses: peter-evans/create-pull-request@v6
        with:
          branch: docs/screenshots
          title: "Update docs screenshots"
          add-paths: docs/images
One honest warning: fonts render slightly differently on macOS and Linux. If some screenshots come from your laptop and some from CI, every run will “change” images that didn’t really change. Generate them in one place only (CI, or the official Playwright Docker image locally) and the diffs stay quiet.
Where scripted screenshots still fall short
This approach is great, and it’s still work. Be realistic about it:
- Somebody has to maintain the shot list. Add a feature, and someone has to add its screenshots, write the selectors and decide what to mask. Delete a page, and the script fails until somebody removes the entry.
- It doesn’t know where images belong. The script updates
billing-summary.png. It doesn’t know which articles use it, or whether the steps around it are still true. - Auth gets fiddly. SSO-only logins, magic links, 2FA and OAuth connections to third-party services all need workarounds (a test-only login route is the usual answer).
- It captures states, not stories. A multi-step flow is better shown as a short video. We cover that in how to create product walkthrough videos.
Other options exist. Cypress has cy.screenshot() and works fine if your team already lives in Cypress. Puppeteer is lower level and Chromium-focused. shot-scraper is a handy CLI wrapper around Playwright if you’d rather keep a YAML file than a script. For one-off marketing shots, a manual tool like CleanShot X with a consistent window size is honestly fine. The scripted route pays off when you have more than a couple of dozen images that need to stay current.
Automating screenshots without writing the script
This is the part of the job we built Ellie Docs to take off your plate. You connect a GitHub repo, and Ellie reads the code to map your features and user-facing screens. It then runs your app in a sandbox, logs in as a test user, and captures real screenshots of the logged-in product, placed directly into the help articles it drafts.
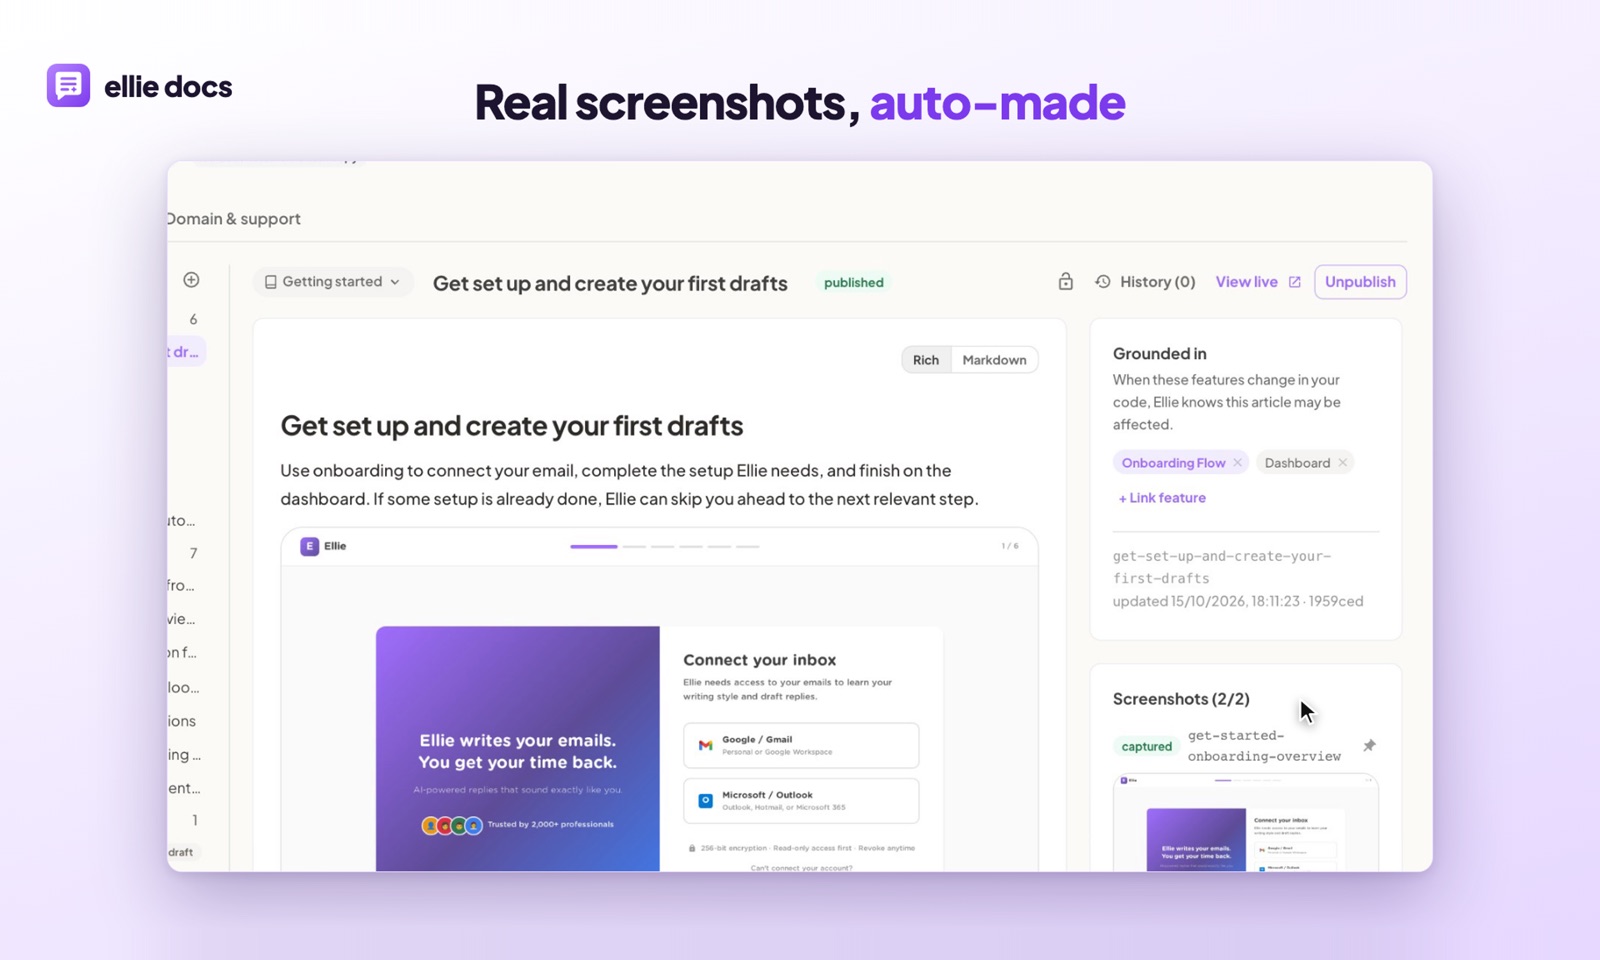
Because each article is linked to the features it describes, a merged PR that changes one of those features gets flagged against the right articles, and you review the suggested update before anything goes live. You don’t maintain a shot list or a selectors file.
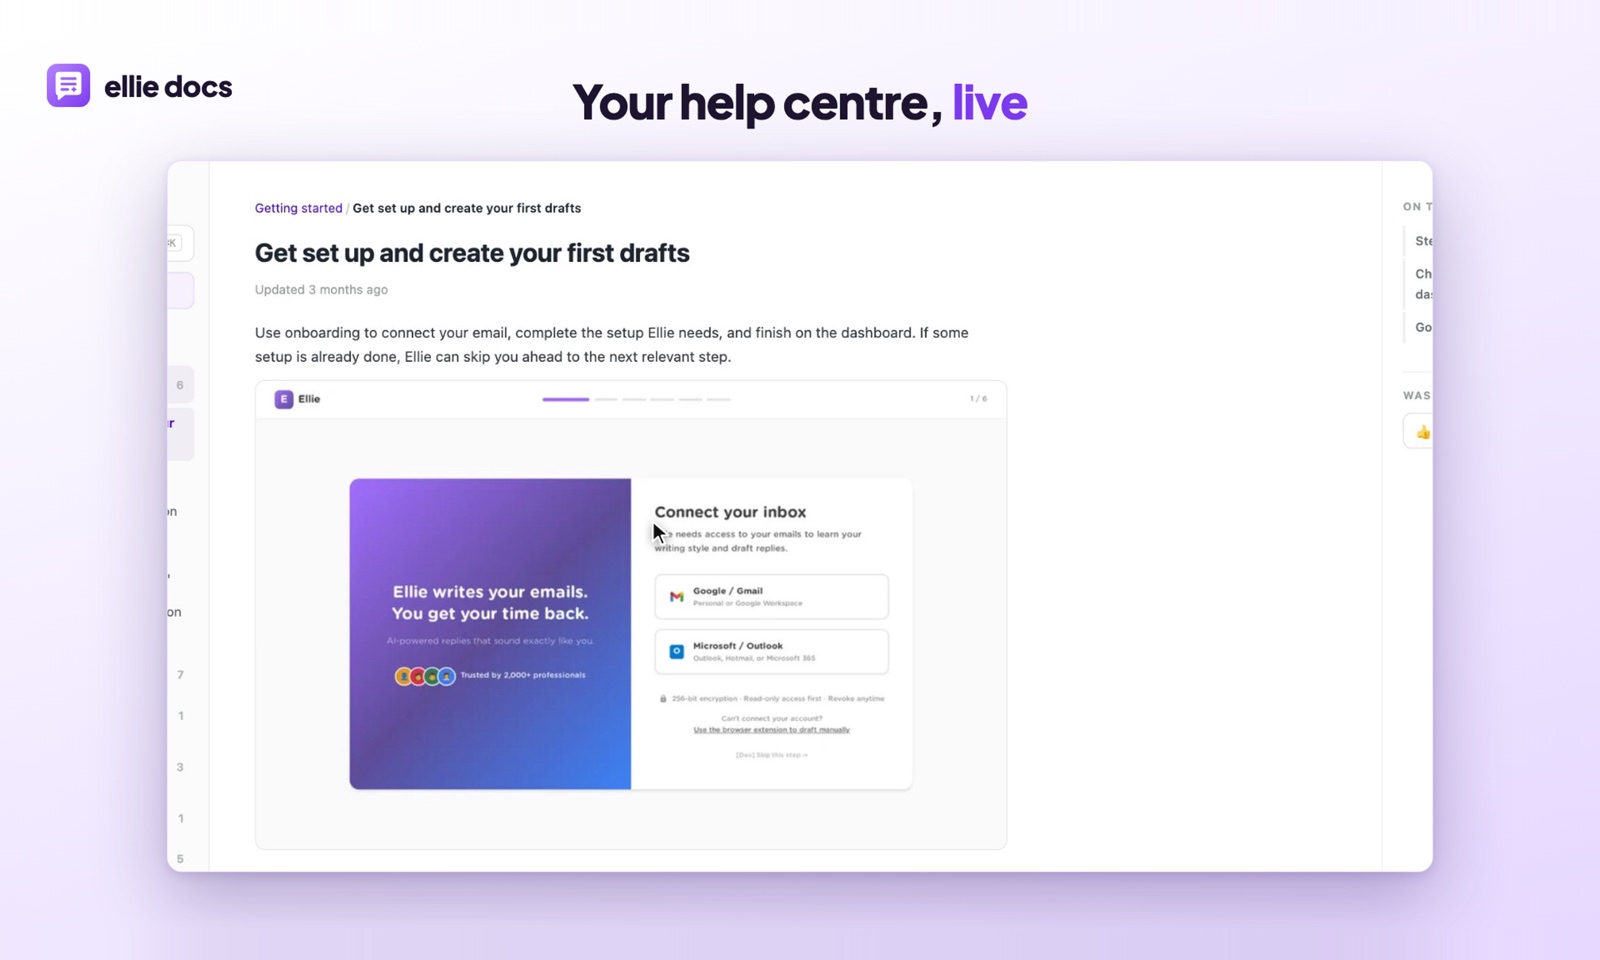
If you enjoy owning the Playwright script, keep it. It’s a good setup. If you’d rather have the screenshots, the articles around them and the upkeep handled for you, that’s what Ellie does. Writing the words around those images is its own craft, too; see how to write help center articles people actually use.
Common questions
What resolution should documentation screenshots be?
Capture at 2x (deviceScaleFactor: 2) from a fixed viewport around 1280 pixels wide, then display at half size. That gives you sharp images on retina screens without enormous layouts.
Should I screenshot the whole page or just one part? Usually one part. Crop to the element the step is about, with a little surrounding context so the reader can find it. Use full-page shots sparingly, for “here’s the overall layout” moments.
How do I keep real customer data out of screenshots?
Never capture from production accounts. Use a seeded demo account with fake names and example.com emails, and mask anything you can’t seed, like third-party widgets.
How often should automated screenshots run? On every merge to main if the run is fast, nightly if it isn’t. The point is that nobody has to remember.
If you want this done for you, try Ellie Docs free. Connect a repo and you’ll have a help center with real screenshots of your app, no card needed.